Direct charging of e-bike batteries can be done with your own charger and electric source. But lithium batteries can be expensive, which is why some riders use solar chargers. And, unfortunately, you can’t just run out and buy solar bikes.
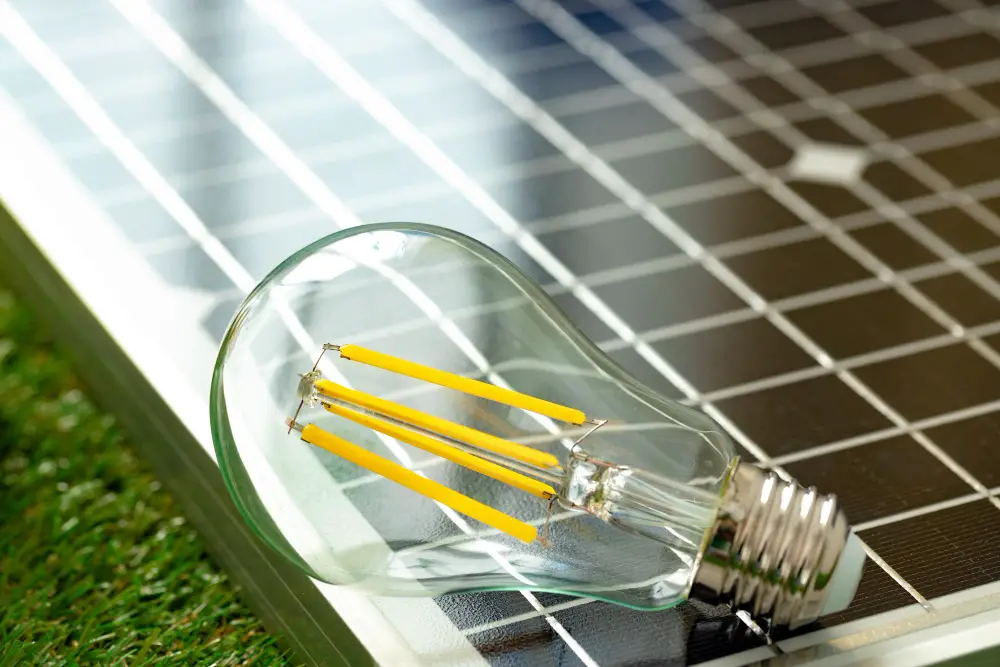
Charging an e-bike with solar energy can reduce environmental impact, is cheaper than electricity, and gives you the option of charging anywhere. But it’s not as easy as it sounds to just buy a solar charging station, connect it to your e-bike’s battery, and start riding.
You need to know the proper way to set up a solar charging system for your electric bike to harness free solar energy without risking damage to your bike and other inconveniences.
Here’s how to charge an e-bike with a solar panel:
- Determine how solar power will work with your e-bike
- Choose a solar panel
- Purchase the necessary wiring supplies
- Connect the electric bike to the solar charging system
- Place your solar panels in the sun to charge your e-bike
- Take your e-bike for a test ride
The above directions are meant for people that have some experience with wiring and general electric bike maintenance. In the next sections, I’ll cover each step in greater detail, the key considerations to keep in mind when charging an e-bike with solar power, and much more. Let’s dive right in.
1. Determine How a Solar Panel Will Work With Electric Bikes
Depending on the design of your e-bike, you may be able to travel and charge at the same time. Many electric bikes cannot be charged this way because the throttle or electric assist is usually disabled when the bike charger is plugged in. But some can, which is great because it gives you another charging option.
Also, when using the rays of the sun, you won’t be able to charge your e-bike overnight.
Knowing whether you can charge as you ride an electric bicycle allows you to adjust your travel plans. It allows you to figure out beforehand how much power you need and whether it will be necessary to stop to recharge, what supplies you might need to take with you, and so on.
To determine whether your e-bike can charge while riding, simply plug in its charging cord and check if the throttle or pedal assist still works. Your e-bike may also show a “charging” mode on the display. If the e-bike is charging only or the throttle and pedal assist doesn’t work when plugged in, you cannot ride and charge simultaneously.
It’s okay if your electric bike can’t charge as you ride. It just means that you’ll need to stop riding to recharge the battery.
While you still have the bike charger in hand, you might as well get familiar with its cord pins. Look at the “face” of the plug. You will see the positive and negative power “pins” as well as a smaller “pin.” The smaller one is a data, or signal, pin that transmits data between most chargers and the battery for charging.
2. Choose a Solar Panel
You need to choose the ideal solar power design based on your budget and how you intend to charge (i.e., whether you plan on charging as you ride). There are three main styles to consider:
- Stationary Solar Panels: These are larger and more powerful panels that can be installed at home for use before and after e-cycling. They give you the option to charge with an additional electric bike backup battery while using the other one to ride around with. Keep in mind that stationary panels are costly, and back up batteries tend to be better suited for short and daily routes.
- Foldable, Portable Solar Chargers: These are great for adventures because you can use them to charge your e-bike battery on the go. However, they may not give you as much power or hold as much capacity for your overall needs. Inclimate weather could also affect your ability to fully charge your electric bikes on adventures away from home. Further, you need to consider whether you can easily carry the extra weight of several smaller panels or even larger panels while you ride.
- Solar Panels on a Bike Rack: This is a heavier option that’s suitable for charging while riding if your e-bike allows it. The caveat is that off-roading may not be safe with this solar power style because it can affect your balance and stability. Also, these solar panels are priced high, probably due to the extra solar equipment.
Various solar panel chargers have one thing in common: They’re designed with rugged materials to handle tough weather and trail conditions.
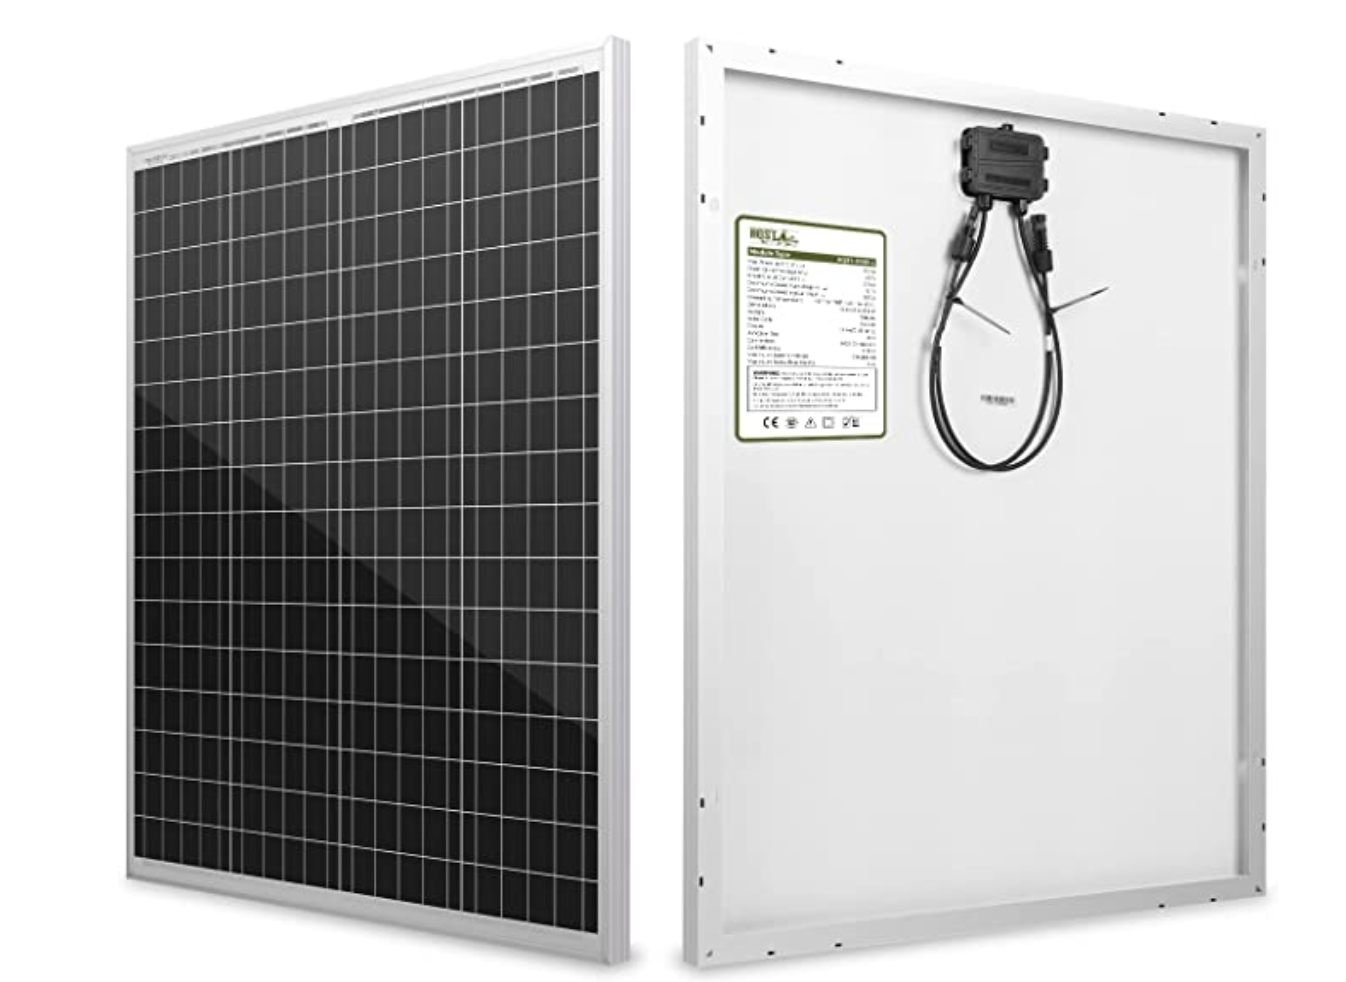
If I had to choose, I would go with the HQST 100 Watt Polycrystalline 12V Solar Panel (available on Amazon) because it offers a compact and high-efficiency design for other grid charging applications. The product description also tells of the operating volts and current, type of cable and connector, and the maximum battery voltage.
3. Purchase the Necessary Wiring Supplies
Solar panels work by collecting energy and then transferring it via a system of wires into a battery bank. However, they cannot charge all on their own; they’re merely a part of charging your e-bike.
You need to pair your solar panel with a charger controller. Also known as a maximum power point tracker (MPPT) (available on Amazon), this crucial element of a solar chargers converts and optimizes the energy flow from the panel to the battery. If your solar panel didn’t come with a reliable MPPT, now would be a great time to purchase one.
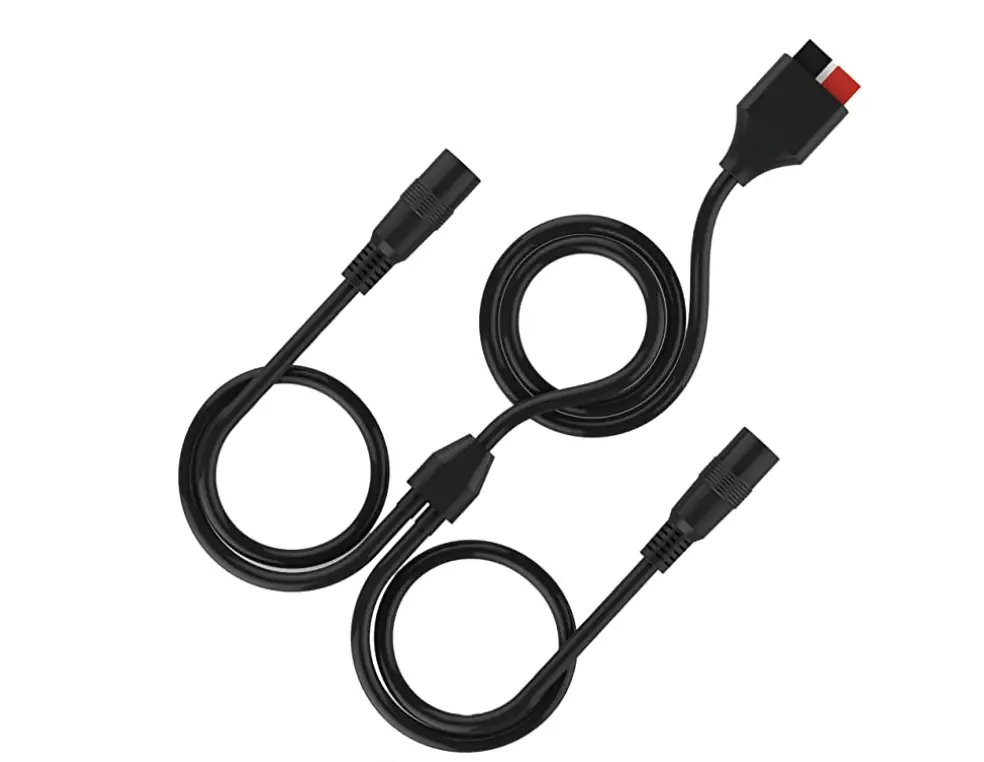
You also need an MC4 adapter cable that works with the plug and connection points you have on your electrical bicycle. Most solar panels come with single-contact MC4 connectors. The “M” stands for Multi-Contact, and “4” represents the 4mm-diameter contact pin. Be sure to note the types of connectors your solar panel has before making any adapter and cord purchases.
Amazon.com has a variety of adapter cables available such as the SolarEnz Branch Parallel Adapter. This solar charger cable can be used for a long extension to connect to various solar panels. It also offers reduced charging time, which comes in handy when charging on the go.
Make sure that the sizes of any components you need are appropriate to the amount of current that will be flowing through your system. Electric bikes typically have lithium-ion batteries that come in various voltages, such as 48-volt, 36-volt, and 24-volt. The higher the battery voltage, the more power you have to go faster.
Most e-bikes come with a 36 or 48-volt battery, and you should use that capacity to determine how many solar panels you need to fully charge the battery. Most e-bikers recommend having a charger with at least two panels that can output 200 watts or more.
Here’s a comprehensive list of everything you need to connect the battery and the solar panel together:
- 12-voltage battery
- 30-ampere solar charge controller
- 12-gauge wire and wire connectors
- Multi-Contact 4mm cables that will adapt to your solar input and output
- Multi-Contact 4mm cables to extend (if you feel they are needed)
- Battery cables
- 15-ampere Multi-Contact 4mm inline fuse
- Heat shrink tubes for insulation
- Hand and eye protection
- Screwdriver
- Wire tools such as a crimper and stripper
- Heat gun
Note that the supplies listed here would work with the solar panel from Amazon.com mentioned above.
4. Connect the E-Bike to the Solar Chargers
By “charging system”, I mean the battery, charge controller, and solar panel. When connecting your e-bike to these solar chargers, avoid connecting the solar panel to the battery because that can damage it. Instead, connect both the solar panel and battery directly to the charge controller and charge from there.
It is also recommended that you fuse the system for safety. The fuses should be placed between all positive points of the charging system.
While on the subject of safety, it’s worth noting that you need to wear hand and eye protection when connecting everything up. Also, make sure you follow the instructions that came with your charge controller manual, especially the part on the best order for connecting everything together.
Keep in mind the positive cable connects with the MC4 infuse line, positive extension cable, and adapter cable. The solar panels’ negative cable connects to the negative extension and adapter cables. Make sure that exposed wires do not touch.
If you have installed the connection points properly, your charge indicator will indicate this by turning on or lighting up. If it is not working, refer to the instruction manuals.
For more instructions on how to safely connect the battery, charge controller, and solar panel to your electric bike, check out Footprint Hero’s guide.
Other Considerations
If the above process proves to be too complicated, consider an inverter with a power rating that can handle the energy needs of your electric bike’s charger. While an inverter is heavier and not as efficient as a solar panel, it’s easier to make. Follow the instruction and safety methods for properly connecting your solar panels, controller, and inverter to your e-bike.
Depending upon the model and make of your e-bike, there may be a pre-made solar charger available. These compact systems typically provide all you need to connect your electric bike to solar panels.
Check out some videos on YouTube on how to charge an e-bike with a solar panel as well:
- How to Charge an Electric Bike with Solar Panels :
- Cheap and Easy Solar Panel Charger Setup for E-Bikes:
- Testing E-Bike 300 Solar Panels:
You also need to consider how you’ll transport your solar panel when riding. If you can charge and ride your e-bike at the same time, you can use a bike trailer. Keep in mind, though, that you must attach it securely so that it does not fall off and create a hazard to you or other people on the road.
Tip: Try your electric bike solar set-up in a nearby parking lot or driveway that you can turn a lot in and go faster to see how it holds up. If you cannot charge while riding and yet don’t want to leave your gear at home, you can still bring it with you in a bike trailer or folded up in a backpack.
5. Place Your Solar Panels in the Sun to Charge Your E-Bike
Now that everything is safely connected, place your solar panel at an angle directly in the sunlight. Consider using these RENOGY Adjustable Solar Panel Tilt Mount Brackets from Amazon.com for support. They are made from a lightweight aluminum alloy and are great for easy transportation and safe mounting on e-bikes.
Placing solar panels at an angle is important because you want the maximum energy released from the sun. If you wish to have the perfect angle for maximum energy absorption, check out Footprint hero’s Best Solar Panel Angle by Zip Code calculator. This tool tells you optimum angles for year-round, summer, and winter sunshine in 800 highly populated zip codes in the United States.
Charging times can vary depending on the style, model, and needs of your electric bike. The weather and geographic location can also affect charging. Higher wattage can be expected during the summer seasons and when the skies are clear.
6. Take Your E-Bike for a Test Ride
Now you can unplug everything and go for a ride to see if your e-bike has charged as it should. If it did, you’re well-poised to enjoy these benefits of e-bike use:
- Stronger Cardiovascular System: By balancing and maneuvering e-bikes (and additional solar panels), users can develop a strengthened core and get a cardio workout. This can help lower the risk of heart disease and other cardiovascular issues.
- Better Functioning Immune System: Riding in varying degrees of warm and cold weather can rev up your immune system, increasing white blood cell count as a front-line defense for fighting viruses. Sunshine also is an excellent source of Vitamin D, a nutrient essential for calcium absorption for strong bones and overall immune function.
- Decreased Risk of Type 2 Diabetes: Combined with a balanced diet, riding electric bikes offer exercise that promotes glucose consumption in the muscles to balance blood sugar levels.
- Improved Mental Health: Fresh air and exercise release mood-balancing hormones in the body and bring increased oxygen to the brain resulting in a better mood, productivity, creativity, and memory. This can help reduce the occurrence of depression, anxiety, and stress.
- Improved Sleep: Regular exercise, including consistent pedaling on e-bikes, has been found to help people fall asleep faster and for longer in balancing hormones that affect the sleep-wake cycle.
Conclusion
There’s no question that riding an electric bike can reduce your carbon footprint. But using e-bike solar chargers takes an extra step to help reduce the use of electricity and don’t require the use of power outlets (allowing you to charge from anywhere). With some wiring techniques and small panels, you can fully charge your e-bike with the greater power of direct sunlight!
Alternatively, check out this article to find out how to charge your e-bike with a generator or how to use a car battery with an inverter.
